Friday, May 13, 2011

Corset Part II

Where we last saw the corset, I had put prussian tape on all of the seams and satin stitched the edges.


Next is drawing in the guides for the bones. The bones will wind up following the curve of the body.


Pin the bone casing along the bone guides drawn in chalk.


Bone casing is a little neatly made tube -- perfect for boning to slide through. Note how there is a little bit stitched together on either side. That's where you stitch.


Stitch, and press!


Attach all of the bone casing in a similar manner.


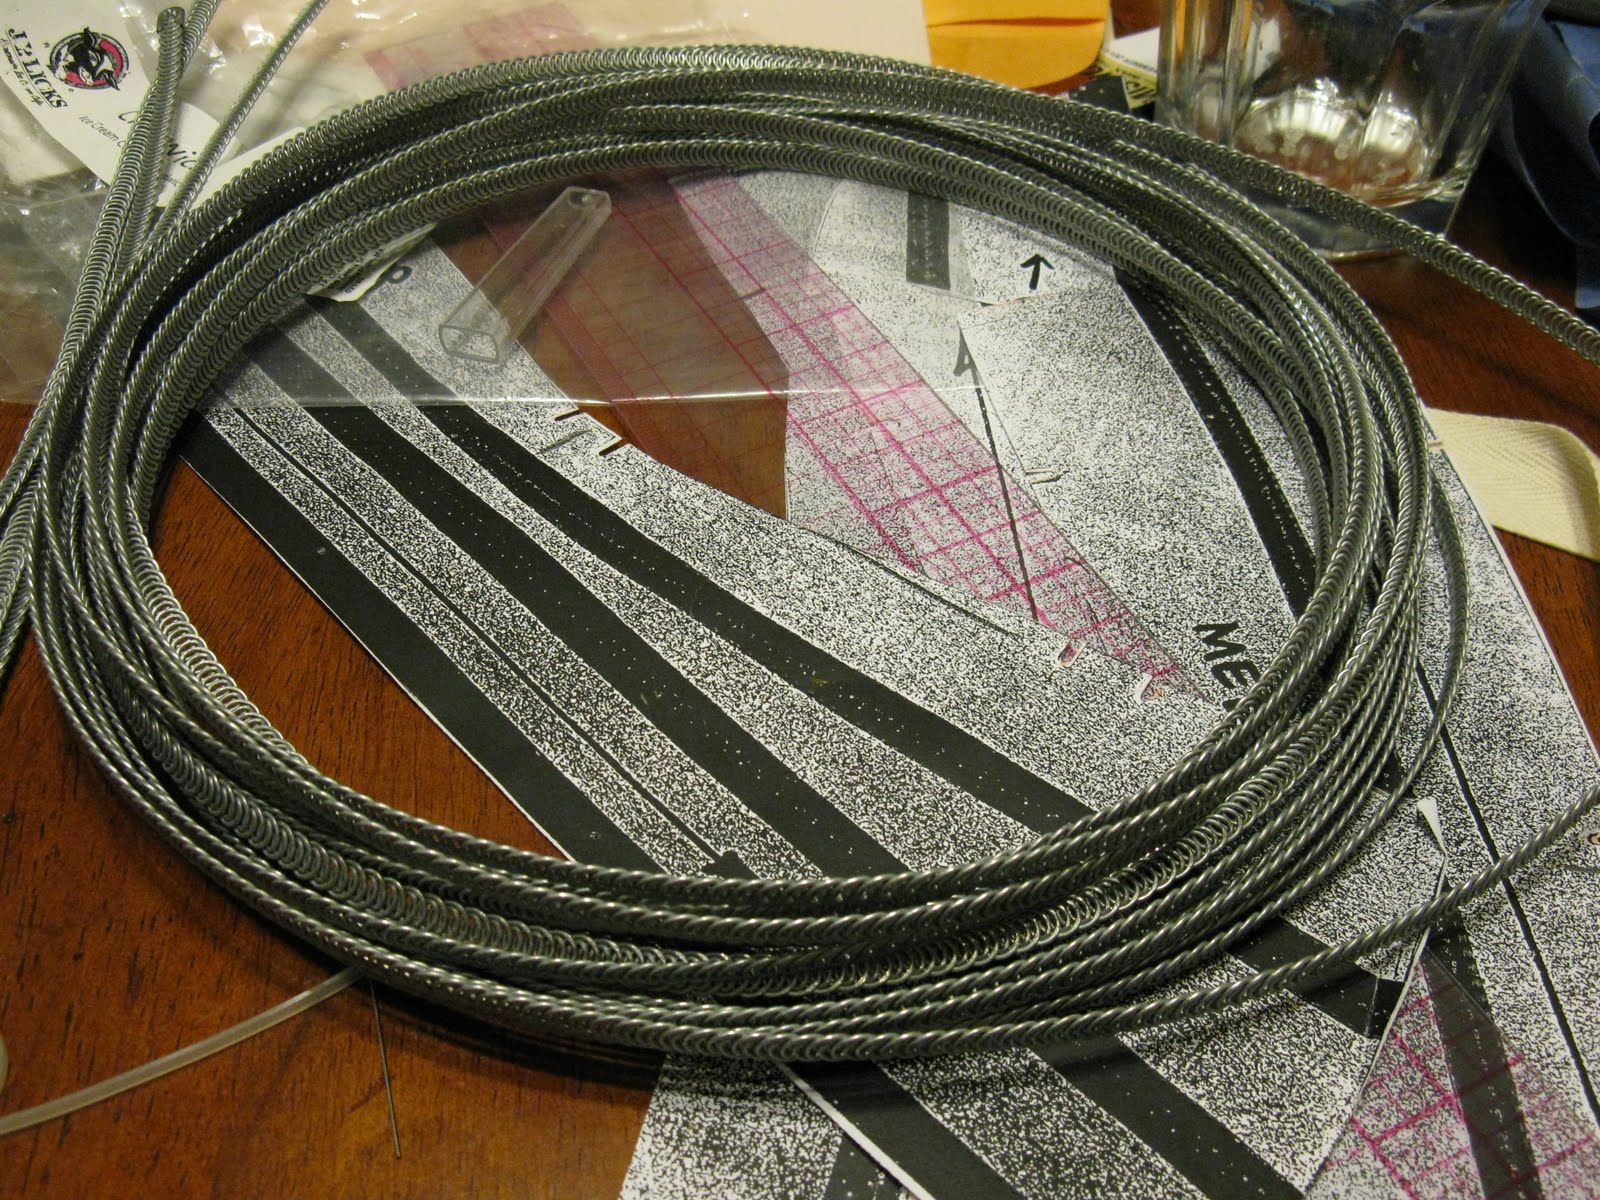
Here's a lovely little coil of spiral steel boning.


A cute little pile of bone tips. Do you see where this is going?


You're going to want to cut the boning to the length that you want, and snip pointy bits off so that it's vaguely rounded.


Using two pairs of pliers, you'll want to crimp the bone tip over the edge of the bone. If you can manage this with one pair of pliers, you're a magician. And yes, I took that picture myself. :-P


Double check to make sure that the bone is the right length -- too long and you'll have problems, too short and it'll wiggle.


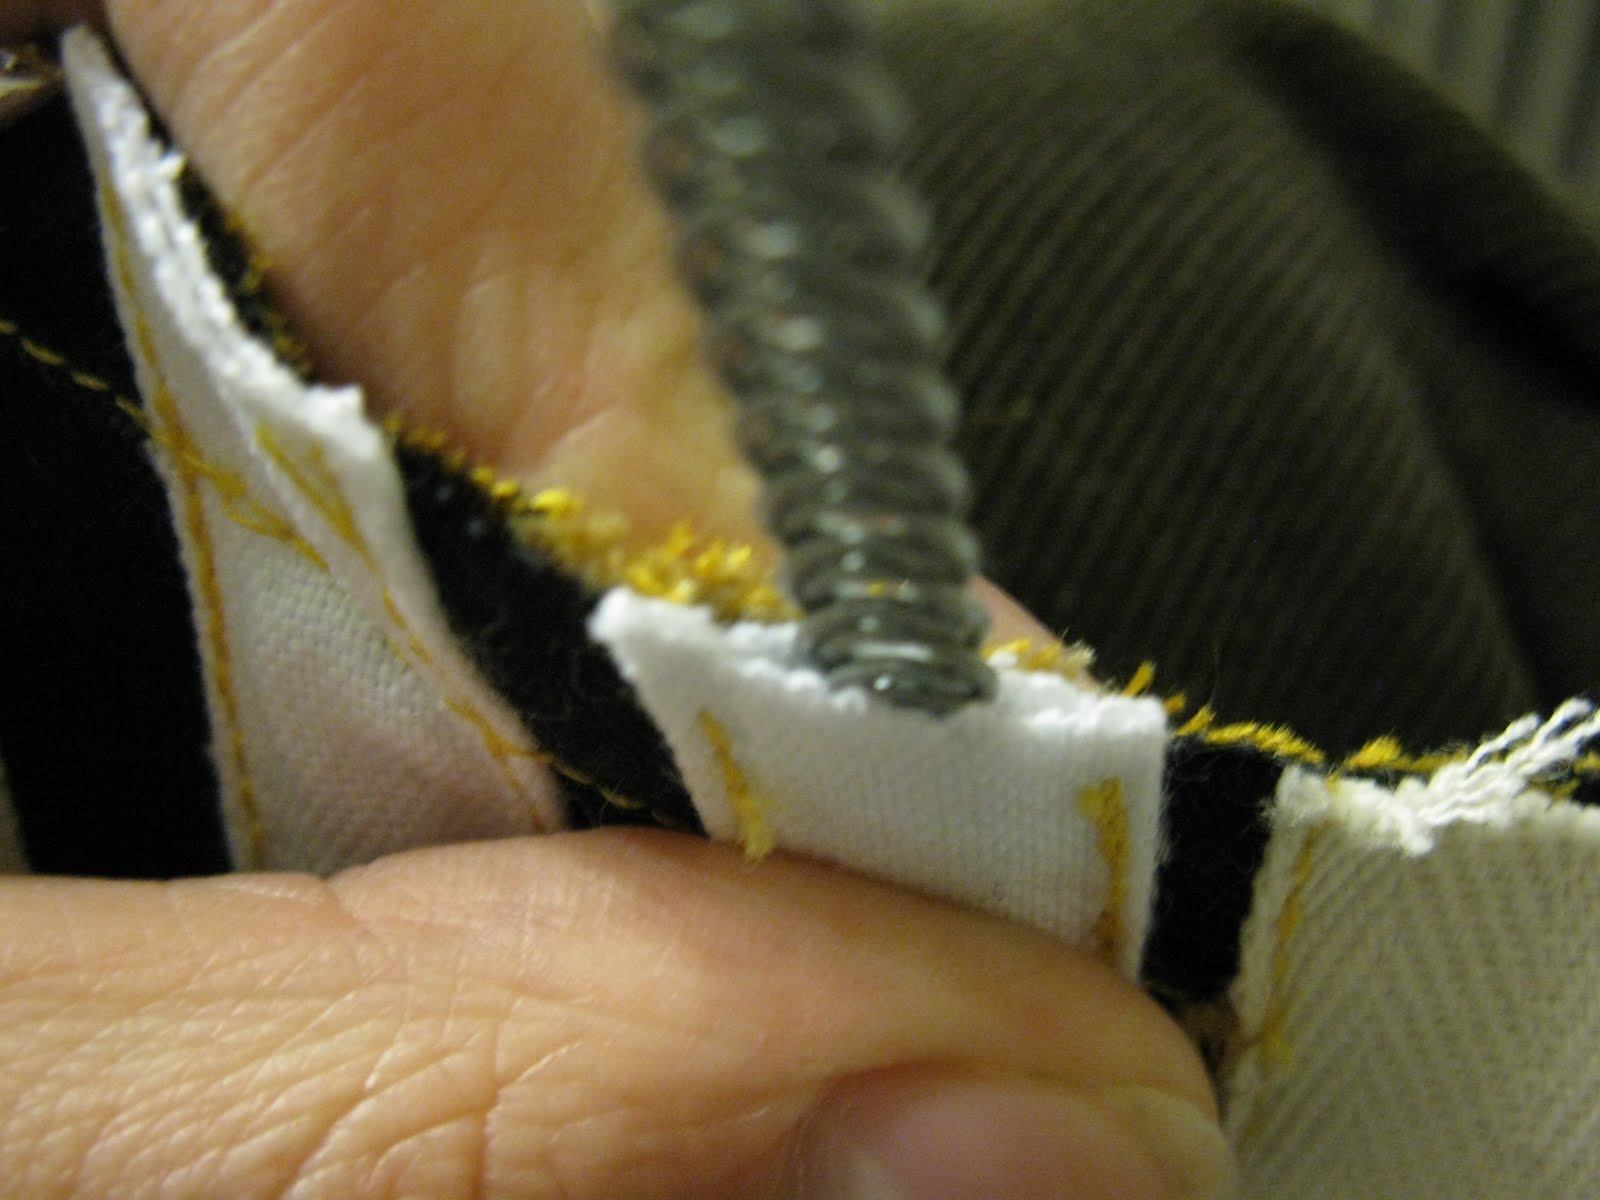
Slide the boning into the bone casing. Make sure that it's actually in the channel, and not between the coutil and the casing -- an easy mistake to make.


Stitch along the "stitch outline" (where you've already stitched along the coutil where you want the edge of your corset to be) to keep the boning in it's little case. Please be extra care to NOT stitch on the bone, as that's a sure-fire way to snap a needle. Ask me how I know.


Now would be a good time to cut, file to rounded edges and cover with nail polish (or tip dip) any spring steel that you're using.


A quick note about the different steel boning: spiral steel is like a spring that's been laid flat. Because it's a spiral, it'll bend side to side -- which is why it's excellent for curving along the body. But where it fails in corsetry is where you require rigidity: along the grommets and your opening (either busk or hooks). I'm using spring steel for along the grommets. It's thin, and flexes along it's length (so can follow your spine) but does not bend side to side (so tight lacing will not warp the shape of your corset). A busk is the traditional opening for corsets: it's like a wide spring steel with hooks and eyes attached to it. I do not have extra busks lying around, so I've opted for another method which I'll explain.


This is plastic boning. It comes in it's own bone casing, and you can buy it by the yard in most fabric stores (at least in the US). (The steel bones I order online.)


You're going to want to stitch two lengths of it together -- again being careful not to stitch on the bone.


You're then going to attach this doubled bone along the line where your corset closes in the front. If I had more spring steel, I might have used that here. Now comes the fun part -- putting in the hook and eyes!


Here are the hook and eyes that I will be using. Note that they are already attached to a tape, premeasured so that I don't have to do any math to make them match up. Yay for less math!


My cast of characters: dressmaker's awl, oboe-reed-maker's mandrel (not everyone has this one... :-P), and my little snips.


I start the hole for where I want either my hook or eye with the awl. The reason why we're doing it this way is to cut fewer threads and keep the fabric stronger.


It's not big enough, so I use the mandrel to make the hole bigger. If I was putting the hooks in, I'd stop here.


For the eyes I needed a slightly bigger hole, and used my snips.


A couple of eyes poking through!


Before the eyes even start to think about breaking for freedom, you're going to want to stitch them in tight. Because you'll be sewing over bones, handsewing is really the only way to go. I'm just doing a simple whip stitch, but you can feel free to be fancy.


All of the eyes installed.


All of the hooks and eyes are now poked through and stitched in place.


Now would be a good time to pretend that you've been working on the lining this whole time.


You'll want prussian tape along all of the seams here as well. This is a good time to check that all of the boning is in your corset and secure -- don't forget the spring steel that had to dry!


Stitch the lining and the corset together. right sides facing, along the top and the side where the grommets will go -- leave two sides unstitched (but fold the lining fabric to where it'll need to be along the hook and eyes). Again, be careful of the bones.


Bring the satin stitched side in a little, so that the satin stitch is a mere 1/4" from the bone.


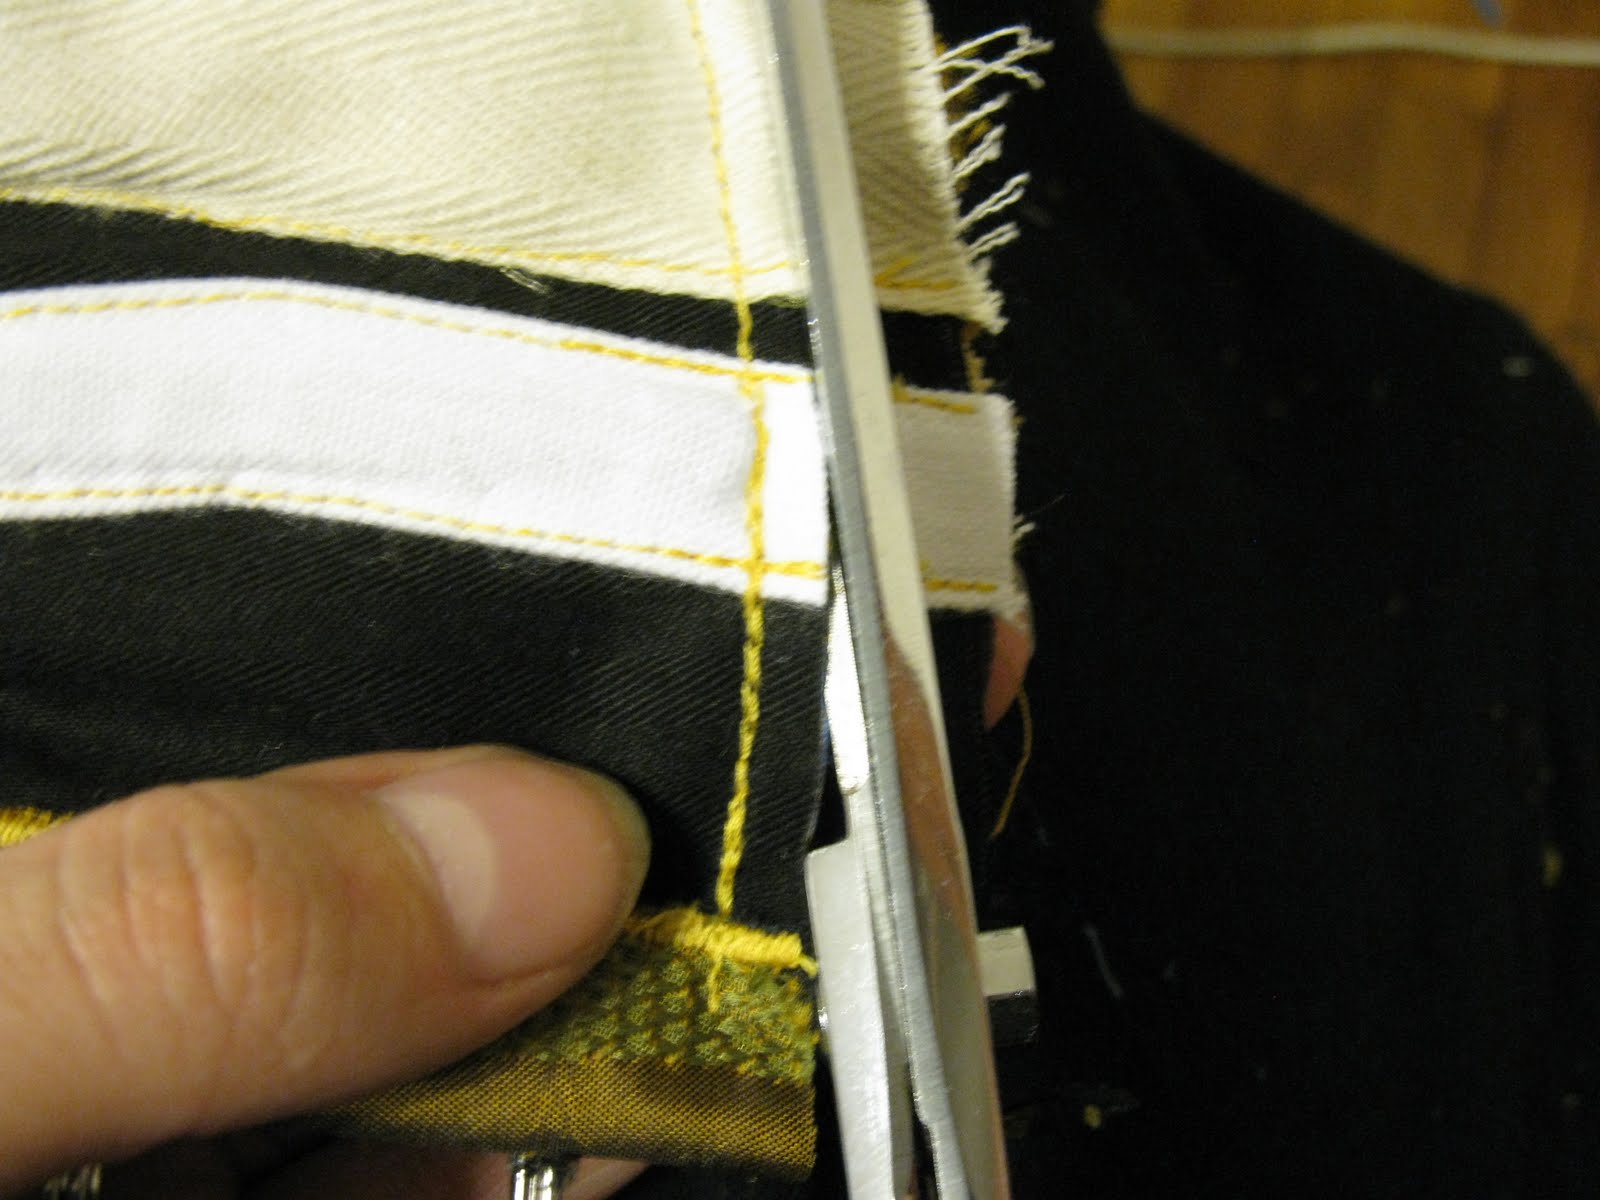
Trim the seam between the corset and the lining down to 1/4" all around (coming as close to the satin stitch as you dare). If you can trust your fabric to go closer than 1/4" go for it!


Turn right-side out and press well. It'll want to fight you, because the lining doesn't have nearly the weight of the corset. But convince it.


All that remains now is handstitching along the remaining two edges and installing grommets! And then you'll be done.

Tuesday, May 10, 2011

Corset Update!

So I took photos of the entire process of making the corset, bar drafting the pattern (sorry R!). Warning: massive use of an iron ahead!


Having chalked on the pattern onto the fashion fabric with 1/2" seam allowances.


The coutil (black) and the lining (blue) cut out.


A close up of the coutil fabric. Coutil is a super tightly woven canvas-like fabric that is used as the foundation of corsets.


Attaching the coutil to the fashion fabric along the seamline (where I want the seams to be). After sewing, press flat.


After cutting out and adding coutil to two pieces, I sewed them together. Note the fun in pinning opposing curves!


After removing all of those pins, press the seam open.


You'll then want to trim the seam down to 1/4". Note the difference between before and after. :-P


You're then going to cover each seam with prussian tape, and stitch along each side of the tape to tack it down. Press after sewing.


A close up of the prussian tape: this is 1" wide softly woven tape, that has the flexibility of bias tape, but is far sturdier and doesn't ravel.


At the ends of each chain of pattern pieces (5 per side of the corset) I satin stitched the edge. I would have serged it if I had a serger, but that's how it goes.


A long shot of all that I completed before work. Not bad for about 4.5 hours of work!


Still to be completed: putting together the lining, attaching the bone casing, putting in the bones (perhaps cutting and tipping bones as well), attaching lining to the corset, putting on the hooks and eyes, and adding grommets. It looks like I'll have time to make myself a shiny new corset as well!

Monday, May 9, 2011

Costume Update

So remember the outfit I was making for my mother? Well, since I last wrote about it, the hong kong seams for the skirt has been completed (from start to finish for each seam (including cutting out bias tape) it was ~45 mins!), and the skirt stitched together. It wants a "skirt belt", and some hemming by hand, which I'm putting off until I can no longer feel like I'm wasting time by not being at the machine.

That was completed by Saturday morning. Also on Saturday, I made the vest.


Previously, all that was completed was the cashmere was cut out. I also had to cut out the lining (98% silk, 2% lycra -- what a dumbass I am!), and throw it all together. The collar is not lying as flat as I would like, and I totally set in the collar upside down twice in a row. Because I was feeling like the vest was going far too easily, I decided to up the difficulty level by throwing in some little welt pockets.

So I pulled out my Stitch Bible and discovered that the instructions were cryptic. (These were written by me, mind you) So to the internets I went, only to find more cryptic instructions that were more difficult.

So after staring at my demo piece and staring at such phrases as "...attach the pocket front to the front..." (<-- I suck), I mostly figured it out. Sadly, I mostly figured it out AFTER completing one and realizing why it sucked.


But they're not that bad, and they're only 2" long anyways.

I also have the most adorable buttons for it!


So I finished that Saturday as well and began the corset on Sunday.

Friday, May 6, 2011

Pictures from Yesterday


A random, orange jelly bean in my storage container of craisins (wtf?).


Stirring my three or four chopped clementines with an equal amount of oj.


My "marmalade"!


The amount of apples that I cut up, probably about 9 apples.


Three jars of applesauce!


And a shot of the banana cake, a.k.a. my breakfast this morning. It had sliced almonds inside, granola on top, and drizzled with simple syrup when it came out of the oven. NOM.

Thursday, May 5, 2011

House Cleaning

Mister and I are not what one might call experts in keeping house. We're both fairly ADD, lazy, and after all, it's our own mess! But we've been eating out (or ordering pizza) for average one meal a day for a week or two. This is Not Acceptable to either of us.

Yesterday, Mister pinpointed that the kitchen being a mess was part of the problem, and cleaning it would solve many things (not the least giving us a clean kitchen). So with a will, he set to work.

Myself, feeling very discouraged by the kitchen, decided that it was time for me to tackle the Pile 'o Laundry, both clean and dirty, that was our bedroom. After four hours of work, we emerged victorious with a nearly clean kitchen and a nearly neat bedroom. It being 1am, we figured it was bedtime -- so we read until 4am. :-P

This morning, I woke up feeling like I wanted to do something. Heavens forbid that I work on the project of massive amounts of work, so I decided to tackle the pile of fruit that was growing sadder and sadder by the day.

The pear was a complete loss. Rotted clear through.

But the bananas became banana bread. The apples are becoming applesauce. The clementines are becoming marmalade. I consider this productive! It's amazing what a clean kitchen makes you want to do!

(There will be pics, but as I'm still in the process of making these, I'll post later.)

Monday, May 2, 2011

Hong Kong Seams

It's now time for Sewing Lessons with Dea! R, this is for you. :-P

As I work on the outfit for my mother, I will post progress reports. This is a beautiful hunter green (the pictures make the color wonky) cashmere knit of a light-weight woolen texture. Since this fabric is so gorgeous, I have to style it to the best of my ability. One of the tricks to make professional quality clothing is the nature of the stitches. You can have a bare-bones stitch, or you can bind off the rough edges in a number of ways. French seams, serging, or Hong Kong seams are all valid options. I chose to do Hong Kong seams here.

What you need for Hong Kong seams are 1/2" seam allowance on your fabric, bias tape, and an iron. I made my bias tape out of a funky stash fabric to add a nice contrast (this will not be visible when wearing).

The only images missing are drawing many diagonal lines on three yards of fabric.


Bias tape, after being stitched, prior to being cut.


Bias tape, after being cut.


Bias tape and outfit piece, sewn right sides together, and pressed open.


Folding the bias tape back over itself to the edge of the nice fabric, and pinning in place.


Folding the pinned bias tape over the edge of the nice fabric, and re-pinning. The rough edge of the nice fabric is now encased in bias tape.


Stitching down what had been pinned. Notice the lovely Husqvarna loaner machine!


After removing the pins, and pressing flat -- here is the final edging for the outfit piece. No rough edges in sight!


After binding with bias tape the rough edges of two pieces that get sewn together, I've stitched together one actual seam and pressed it open. This is a finished Hong Kong Seam.


A close-up shot of the finished Hong Kong Seam.


So although this is a laborious process, the finished product is well worth it.